Top 7 Best Practices to Power Your DIY Product Photography

Are you finding DIY product photography challenging? Are the pressures of satisfying marketing, operations and finance weighing you down? Are you not sure where to start?

If this sounds like you then read on.

In this post I review 7 best practices that will help you setup and operate your product photography studio efficiently.

  1.  Planning Projects
  2. Maintaining Equipment
  3. Organizing Logistics
  4. Optimizing Production
  5. Creating Images for All user groups
  6. Monitoring Expenses
  7. Managing People

5 Questions to Ask Before Committing to DIY Product Photography

Before we get into the best practices (and before you embark on your DIY photography journey) ask yourself these 5 questions to determine if DIY is right for you.

  1. Do you have a long-term need for product photography? Purchasing photography studio equipment, setting up a studio, hiring and training personnel, and implementing workflows takes time and investment. If your business has thousands of products that need images and you produce new products regularly, the time, effort and money to set up a studio may be worthwhile. If not consider outsourcing your product photography.
  2. Do you have a product photography budget? Do-it-yourself product photography is not cheap. You need to buy equipment, design workflows, and hire and train personnel. And once you are setup you have to pay photographers, helpers, project managers, and warehouse staff. If you do not have at least a year of budget outsourcing may be your best bet.
  3. Do you have access to the required expertise? For DIY you need a project manager, a product photographer and helper, and image editors. In addition, you will need access to warehouse staff to deliver product to the studio and return product after photography. If you operate in a medium to large city access to this expertise will not be a problem. However, if you operate in a small town you will find it very challenging to hire the expertise needed.
  4. Do you have the space to operate a studio effectively? The square footage required to operate a DIY product photography studio depends on the type of products you sell (large products require more studio space), the prep required prior to photography (cleaning, assembly etc.), and the way products will be staged at the studio (pallets, boxes).
  5. Are your products centralized in one place? DIY works best when your products are located at the facility where the studio is setup or they can be easily shipped in. If your products are located in multiple facilities and shipping to a central studio is complex (e.g. products are too big, shipping is too expensive) outsourcing may be best.

7 DIY Product Photography Best Practices

Below are the 7 best practices that will make your product photography program a success.

Best Practice #1 – Planning Projects

Planning your projects in advance is a best practice you MUST follow – it will help you photograph products and edit images efficiently and cost-effectively.

When you are planning next week’s production ask yourself the following 14 questions:

  1. How many products need images?
  2. What image views are required for each product?
  3. Which user groups need the images?
  4. What image quality is required?
  5. Where do you get the product information (product numbers, UPCs, etc.)?
  6. What type of products are they?
  7. Where are the products located?
  8. How do you order the products to be delivered to the studio?
  9. When do you need the products at the studio?
  10. What type of preparation is required for the products?
  11. How will the products be returned to inventory?
  12. What products at the studio can be returned to inventory?
  13. How many helpers are required in the studio for the week?
  14. How many images previously taken need to be edited, QAed and formatted?

Best Practice #2 – Maintaining Studio Equipment

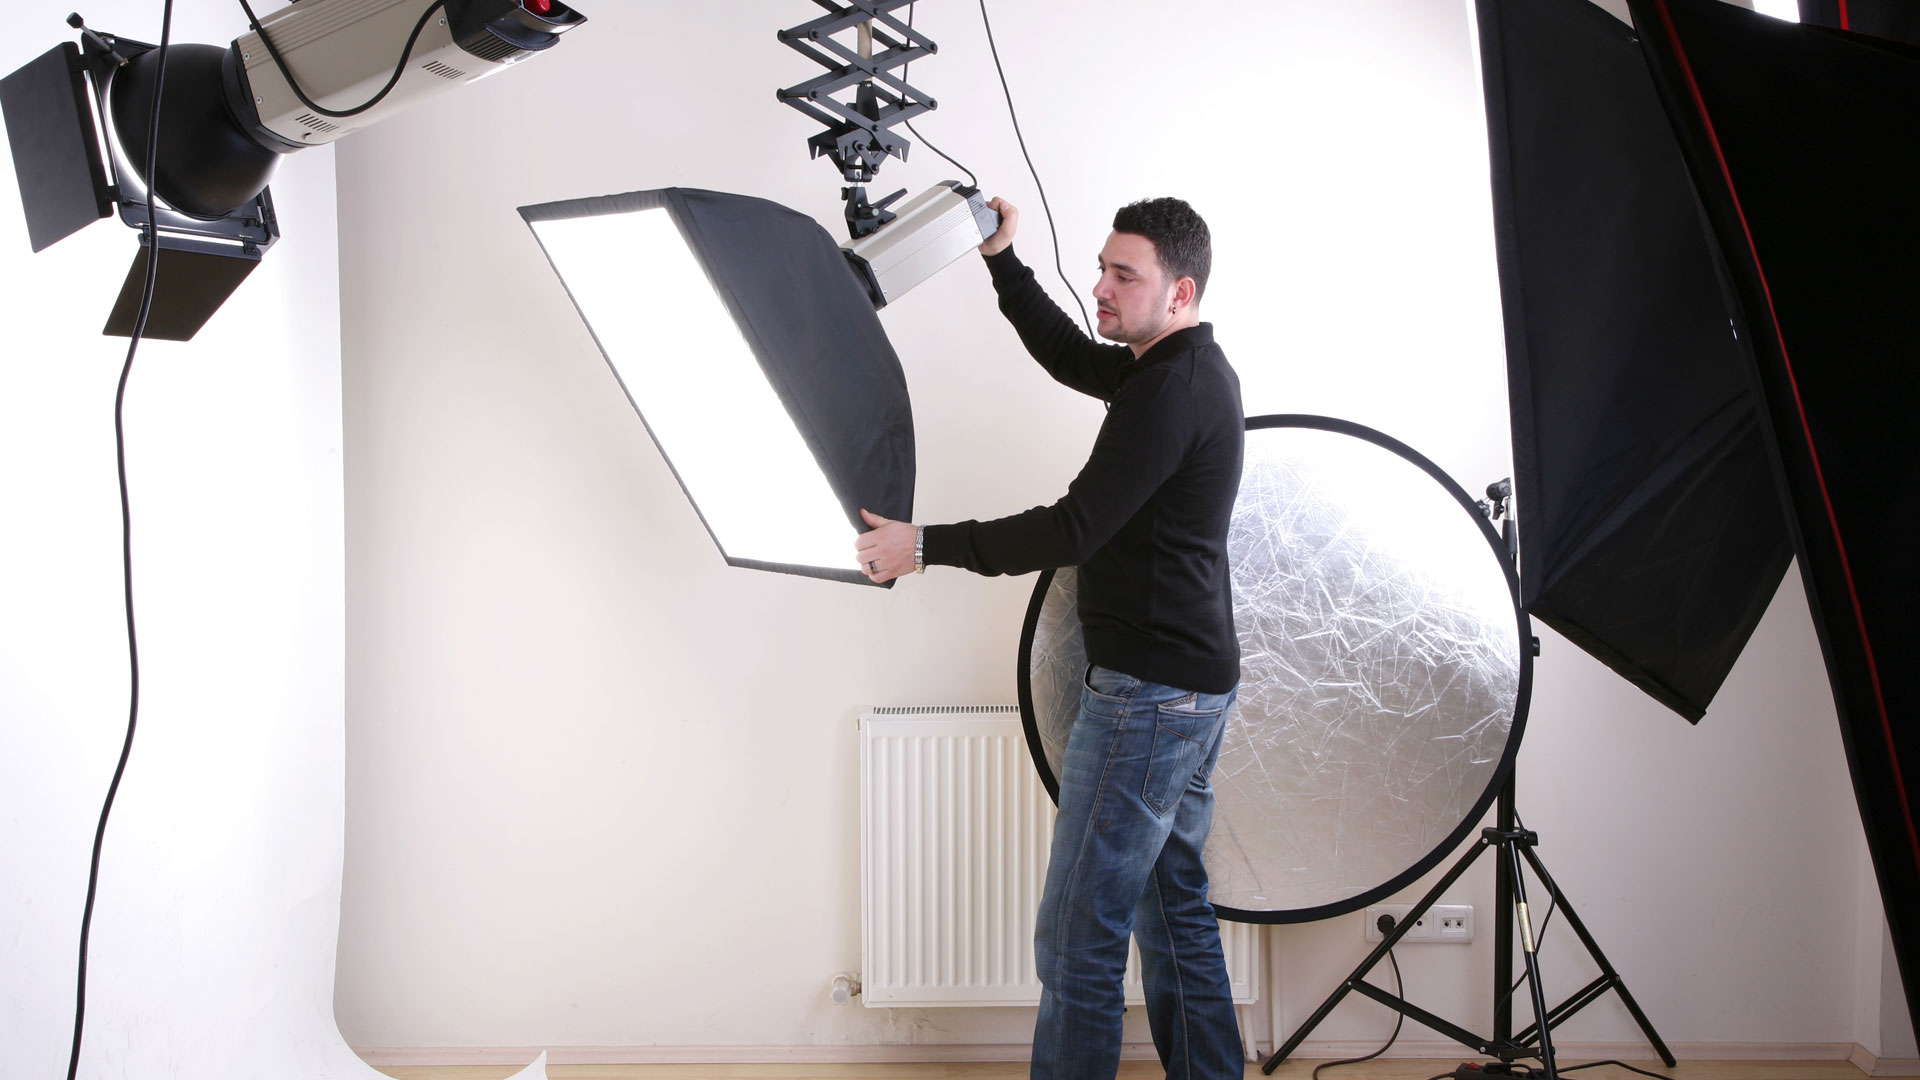
Studio gear – cameras, lenses, lights, stands, gear heads, and computer equipment – is expensive. You will extend the life of your equipment and avoid costly breakdowns if you implement equipment maintenance best practices.

  • Clean camera lenses: This is especially important if the environment you are photographing in is dusty. The dustier the space the more you will need to clean your lenses.
  • Clean camera sensor: Product photography requires you to change lenses often. Dust and debris can get on the sensor during these changes. If you see dots on your images it is time to clean your camera sensor.
  • Store camera and lens in dust-free environment: Product photography often takes place in warehouse-like facilities. To avoid dust, dirt and debris damaging the equipment store it in a dust-free area.
  • Change light bulbs: Lights lose their power and temperature over time and need to be replaced. It is best to change your lights on a defined schedule (e.g. once every two months) rather than waiting for QA to notice image quality issues (e.g. yellowish images). The cost of lights is nothing compared to the cost associated with reshooting hundreds of products.
  • Calibrate external monitor: To ensure that quality images are submitted to editing, the photographer must review images on a calibrated external monitor, not on a laptop screen. Use a monitor calibration tool to ensure that the color balance is accurate. This is a 5-minute task that should be done at the start of each day.
  • Set camera white balance: Before photography each day set the white balance on the camera using the camera settings or shooting a white / grey card. This is a quick task that can save you rework.

Best Practice #3 – Organizing Logistics

Product photography is 70% process and logistics. Crazy but true. The best practice of managing the logistics efficiently has a major impact on production, quality and cost reduction.

There are 5 key product photography logistics to manage:

  1. Ordering product to be delivered to the studio: After you have gathered the product information for the products that need images (product numbers, UPCs, etc.) you submit this information to the inventory person. This person will enter the information into the inventory system, create an order, and deliver the products to the studio.
  2. Organizing products as they arrive at the studio: How products are staged at the studio is an important logistic – it keeps the helper productive and allows the photographer to focus his or her efforts on photography not handling products. The key is to group like products together e.g. products that are the same size or color or require the same image views.
  3. Prepping products for photography: The helper should do the majority of the product handling including cleaning, assembling, and laying out the products for photography. This allows the photographer to focus on photography and not on product handling.
  4. Staging products pre and post photography: The studio should have areas designated for products that need to be photographed and products that have been photographed.
  5. Returning products to inventory: After products have been photographed and their images QAed they should be moved to a specified area at the studio. The warehouse staff know that products in this area can be returned to inventory. This organization avoids the risk of having products returned to inventory before their images have been QAed. If products are returned before QA and their images fail QA they will need to be ordered again, pulled from inventory, and delivered to the studio. This is inefficient and costly.

Best Practice #4 – Optimizing Production

Maximizing image production lowers overall costs, helps get images into the sales and marketing pipeline faster, and satisfies the ‘I need it done yesterday’ requests from user groups.

Implement these 4 best practices to increase optimize production:

  1. Hire experienced product photographers: Do NOT hire a photographer who claims they are a ‘quick learner’. Product photography is a specialized skill. It takes time to learn and to become productive. The difference between someone who has experience shooting products and someone who ‘will learn it fast’ is night and day. Read this post to learn how to hire a product photographer.
  2. Hire experienced photographer helpers: Only hire hard working, organized, detailed oriented and preferably experienced photography helpers. Helpers play a key role in the studio organization and production processes. It is easy to think you can just hire a temp or a low skilled person as the photographer’s helper but nothing could be further from the truth, hire a good helper, you will be glad you did.
  3. Group like products for photography: Separating products into ‘like’ groups is one of the most important things a helper can do. Grouping like products allows the photographer to minimize camera and light adjustments between products.
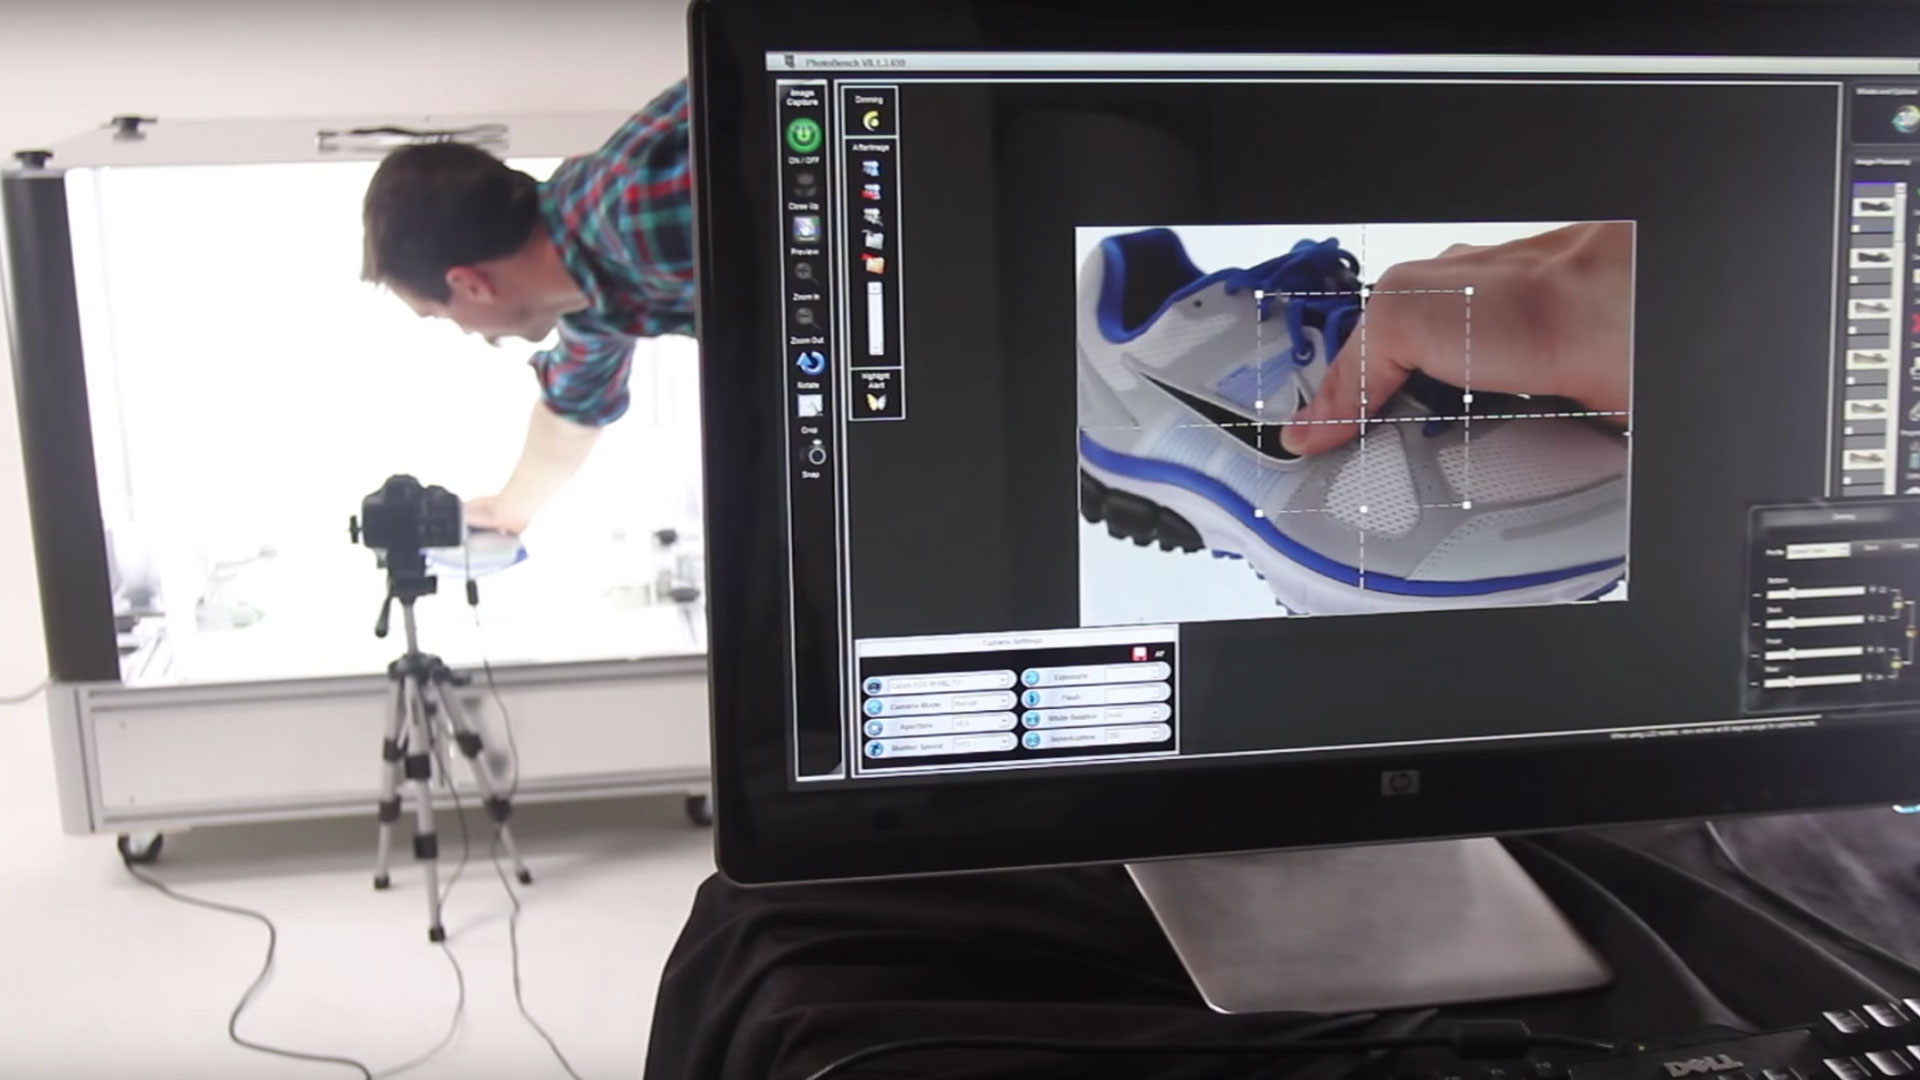
  4. Use photography workflow software: Product photography involves many repetitive tasks including entering product numbers, renaming images, matching image views to product numbers, monitoring which products have been photographed and which have not, and uploading images to centralized servers for image editing. Automating these tasks with photography workflow software can more than double daily image production.

Best Practice #5 – Creating Images for All User Groups

It is likely that you have multiple user groups requesting images for the same products. It is also likely that each user group has different image requirements e.g. marketing requires images with natural shadows, product cataloging requires images with white backgrounds.

The goal is to capture all product images for all user groups when the product is at the studio. You can achieve this goal only when you have gathered the image information from all user groups.

The best practice is to ask user groups the following 5 questions:

  1. What image size do you require? Find out the maximum image size each group requires – height and width in pixels. Once you have this information you can set up your camera to capture images at the resolution that satisfies these needs.
  2. What type of image background do you require? Find out the image background requirement for each group e.g. white background, colored background, natural or artificial shadows. Backgrounds impact how you photograph products. For example, if users want a white background you would set up your lights so that shadows are eliminated or if users want natural shadows you would set up your lights so they cast shadows on the products.
  3. How do you want your products to appear in the images? Find out how user groups want the products laid out in the images – this can vary considerably from group to group. For example, ecommerce may require the package to be included in the image as well as all miscellaneous product pieces whereas cataloging may want only the product and main components in the image. Learning about these requirements will allow you to determine whether a single layout will work for all users or if you need various layouts in order to satisfy individual user groups.
  4. What image views do you require? Request a list of image views per product from each user group. Compile a master list of all the image views required for each product and to upload this list to your workflow software. The photographer will now have the necessary information to capture ALL required image views for each product that is delivered to the studio.
  5. Do you send images to resellers? Find out if user groups are formatting and sending product images to resellers. This is common for manufacturers who sell through a network of resellers. Each reseller may have unique requirements for their images or they could be governed by an industry standard. Take the automotive aftermarket as an example, the main industry association developed an image specification defining how product images should look (100% white background, no shadows), how they should be formatted (tiff, 300dpi, 1,500 x 1,500 pixels, RGB), how they should be named (product number ‘_’ image view), and how they should be distributed (FTP).

Best Practice #6 – Monitoring Expenses

To effectively monitor your DIY product photography expenses you first need to create 2 budgets – a startup and an ongoing expense budget. You then track all expenses and costs against these budgets.

In order to implement this best practice you need to:

  1. Understand start-up expense items.
  2. Understand ongoing expense items.
  3. Create the necessary tracking spreadsheets.
  4. Update spreadsheets weekly.
  5. Track the number of products photographed and images produced each week.
  6. Calculate the average cost per product and per image.

Below is a list of start-up and ongoing budget items, include these in your budget and tracking spreadsheets.

Start-up Budget

Most start-up items are one-time costs that do not need to be included in your ongoing budget.

  • Product photography planning: Planning takes time, costs money, and therefore must be included in the startup budget. Items to budget include task list and budget creation, and information gathering meetings with user groups, human resources, warehouse staff, and finance.
  • Purchasing equipment: Budget time for researching equipment options and estimate the cost for software, equipment and spare parts.
  • Hiring studio staff: Budget the time and cost to recruit, interview, and hire photographers and helpers.
  • Implement workflows: Budget the time and cost to design and implement workflows for: gathering and compiling image requirements; adding, removing and editing project information on the project management software; staging, prepping and returning products; photographing products; reshooting products; and editing, QAing, and formatting images.
  • Training resources: You will need to train the photographer, photographer helper, project manager, and warehouse staff.

On-going Budget

On-going budget items are expenses you will incur throughout the operation of your DIY product photography studio. These costs should be tracked daily or weekly.

  • Project manager: Depending on the size and complexity of your product photography program, the project manager will either be full-time or part-time. Calculate the cost per hour for this person and track the number of hours they spend on the project daily.
  • Photographer: Most product photographers charge by the hour or by the day. Track these costs in your budget spreadsheet daily.
  • Photographer helper: The helper will either be a new hire dedicated to the project or an existing employee that is assigned the job of assisting the photographer. Calculate their hourly cost and track it daily.
  • Warehouse staff: The cost for warehouse resources will be an estimate based on how long it takes them to pull products from inventory, deliver them to the studio and return them to inventory after photography. Communicate with the lead warehouse person weekly to get a summary of the time that was spent on these activities and estimate an average cost per hour.
  • Product delivery / shipping: Products that require photography and are not available at the studio location will have to be shipped in for photography. Estimate and track these costs as they arise.
  • Studio supplies: Photography studios require supplies for cleaning products prior to photography and to prop products during photography. Track these costs as they arise.
  • Studio space: You may be required to allocate a cost to the studio space. If so, break this down to a weekly cost and track it on your spreadsheet.
  • Studio maintenance: Photography studio maintenance includes time and materials for equipment maintenance e.g. lens cleaning. It can also include major items like sending in a camera or lens in to the manufacturer for maintenance. Track these expenses as they arise.
  • Replacement parts: It is inevitable that you will need to replace parts on the studio. Frequently this includes lights and occasionally expensive parts like camera, lenses, or laptop. Track these expenses as they arise.
  • Software support: The laptop at the studio runs software applications that need supporting during the project including Photoshop, Capture One, Lightroom, camera control, laptop operating system, photography workflow, and monitor calibration. Estimate the hourly cost for this support and track expenses as they arise.
  • Image editing: The number of editors you need depends on the number of images the studio produces daily and how difficult the images are to edit. Most editors can be hired by the hour and on an ‘as needed’ basis. Track the total hours for image editing weekly.
  • Image QA: All edited images will be QAed by a senior image editor or a product manager. Calculate the hourly rate for this work and track the hours spent weekly.
  • Image formatting: Once the images pass QA they will need to be formatted according to the requirements of the various user groups. This formatting can be done using Photoshop actions or Digital Asset Management software automation. Estimate the cost per hour for this activity and track the time and cost weekly.

Best Practice #7 – Managing People

The most important thing to keep in mind when managing your team is this – DIY product photography is a balancing act between image quality and image production. It is a mistake to focus on one at the expense of the other. Read this post to learn how to balance quality and production.

Here are some best practices when managing your project team:

  • Project Manager: This person’s responsibility is to ensure that all user group image requirements are satisfied, that the images are produced quickly, and that budgets are met. Best practice includes giving the project manager autonomy over the project, spot checking image quality, and reviewing production and expense reports weekly.
  • Photographer: Product photographers are experts in photography and lighting; they are not experts in production. The challenge in managing photographers is to get them to understand that they need to balance image quality with daily production. You need to teach them to: move quickly between products; set their lights up once for multiple shots as opposed to changing for every shot; recognize when images are good enough; manage their helper so that products are always ready for photography; and work steadily throughout the day.
  • Photographer Helper: The helper’s responsibility is to make sure the photographer is never waiting for products to photograph and is as productive as possible. Additionally they are responsible for organizing products at the studio into groups – those that need to be photographed, those have been photographed, and those can be returned to inventory. Best practice with helpers is to get them to work quickly, to take direction well from the photographer, and to stay organized.
  • Warehouse Staff: Typically you will be communicating to the person that supervises the warehouse staff. In order to ensure that your photographer has enough products to photograph you MUST get the warehouse supervisor (or their boss) to buy in to the importance of product images to the business. If you don’t you will find that the studio is continually out of product. Also train the warehouse supervisor and their staff on the process of receiving a list of products the studio needs, delivering these products to the studio, and returning them to inventory when photography is complete.
  • Image Editors: Editing images takes Photoshop skill and experience. Finding qualified image editors is generally not difficult. Keep in mind that editors will not be experienced with production image editing, you will need to teach them to work quickly while maintaining image quality standards. Document the steps needed to edit images according to the quality standards defined by user groups. Share weekly production and image quality reports with the editors. Offer incentives to editors who are able to edit X number of images daily with less than Y re-edits.
  • Image QA Reviewer: Unless you are producing thousands of images per day, image QA will be the part-time responsibility for one of your editors, typically your best editor with the most advanced Photoshop skills. The reviewer must be focused when they work and have a keen eye for detail. If they lose focus and approve images that should have been rejected the cost in reshoots once the issue is realized can be HUGE. Keep the QA person fully up-to-date on the image standards and set them up in a quiet work environment.

Conclusion

Well there you have it, 7 DIY product photography best practices. I hope you enjoyed the post and found it helpful. Let me know if I missed something or you just want to comment on something in the post, I would love to hear from you.

Thanks for reading.

Patrick Weilmerier
Patrick Weilmeier
Patrick leads Visual SKUs marketing activities and is focused on understanding customer needs, aligning with sales to generate opportunities, expanding markets, and growing revenue.

Get High-quality Images of Your Products - Learn About Our Pricing

Get Pricing Now
  • Blog Subscription - Blog

    Your Privacy is Important to Us