Photographing Products – 4-Step Process for Balancing Production and Image Quality

Photographing products is a balancing act between maximizing daily image production and maintaining image quality. If you push production too hard image quality drops hurting online sales and damaging your brand. If you push image quality too hard your production drops and your budget will be used up before you know it.

In this post I break down this balancing act and introduce a 4-step process that will empower you to maximize production without sacrificing image quality.

Approaches to the Production / Image Quality Balance

Before I get into the 4-step process let’s look at two common approaches to the production / image quality balancing act:

  1. Production at the expense of image quality.
  2. Image quality at the expense of production.

There are valid business reasons for photographing products on either end of the production / image quality spectrum but there are also issues worth considering before you commit to an approach.

Approach #1 – Photographing Products to Maximize Production

This approach is all about production – knock out as many images as you can each and every day. Businesses that follow this approach do so for 2 reasons:

  1. Lower production costs: The faster you photograph, edit, QA, and format images the lower your costs will be per image.
  2. Generate sales faster: The sooner you get product images working for your business – either on your own or your reseller’s ecommerce sites – the sooner you will realize sales.

Makes sense – what business doesn’t want lower costs and increased sales!

But there are a few things to consider before committing to the ‘production at all costs’ approach:

  1. Fast production can lower image quality: Unless you follow a disciplined product image production process you may find producing images fast results in poorer quality images.
  2. Low quality images can hurt sales: It is a common misconception that image quality does not matter when it comes to ecommerce sales. Wrong. Think about the last time you purchased a product online after being presented with small, blurry and non-descriptive product. Image quality reflects on product quality which impacts consumer confidence which results in lost sales.
  3. Fast production can increase reshoots: Images are sent back to photography by QA for reshooting when the quality drops to a specified point e.g. images are out-of-focus, wrong angle, cut off product. Reshoots increase as production rates increase. Reshoots also happen when it is determined, after a period of time, that low quality images are actually hurting sales. Reshoots are VERY costly – do you really want to go through the following steps a second time!
    • Prepare list of those products that require images.
    • Pull products from inventory.
    • Deliver products to the photography studio (in your facility or to a local photography studio).
    • Stage products that need to be photographed.
    • Prepare products for photography – clean and assemble (if required).
    • Set up camera and lights.
    • Capture product images.
    • Rename images e.g. product number and image view – 1245-top.jpg.
    • Make images available to editors for post production work by manually copying them to an FTP server or using photography workflow management software.
    • Edit images by cleaning up the backgrounds, removing imperfections and glares, and creating a clipping path.
    • QA images to ensure quality standards are being met.
    • Resize, reformat and rename images according to their specific uses e.g. specification for internal images and another for reseller’s images.
    • Distribute images to the internal and external locations.
    • Backup images for safe storage.

Approach #2 – Photographing Products to Maximize Quality

This approach is all about image quality – focus on taking the highest quality images possible. There are 4 reasons why businesses adopt this approach:

  1. Image quality can reinforce brand: Quality images instill confidence and trust in a brand. Consumers do not get a positive feeling about a brand when they are presented with images that look like they were taken with a snap-and-shoot camera, no lighting, and with little or no post production editing.
  2. Image quality can increase sales: When online shoppers are presented with similar products side-by-side they gravitate to the product that looks to be better quality and instills more trust. The product that has better images will likely get the sale.
  3. Image quality can be a competitive advantage: The quality of your images can make your products stand out from the competition. Producing product images that are better than your competitors can be an advantage.
  4. Image quality can reduce rework: Re-photographing products is very time-consuming and expensive. If you capture high quality images at the outset you will avoid the additional time and cost involved in recreating poor quality images.

Although the points above strongly endorse the ‘image quality’ approach, don’t rush out to buy a $25,000 Hasselblad camera until you have asked yourself these 3 questions:

  1. How long will it take to produce high quality images?
    The reality is that creating high quality ‘magazine’ images compared to good quality ‘ecommerce’ images can take more than 4 times as long.
  2. How much will it cost to produce high quality images?
    The simple math is this – the slower you produce images the higher the cost per image. Whether you create 30 or 300 images per day you still need to pay the photographer, helper, warehouse staff, project manager, and image editors.
  3. How good do your images really need to be?
    It’s easy to think your images need to look as good as those in magazines. But ask yourself why. If you’re not advertising in magazines then producing images at this quality is a waste of time and money. When determining the level of image quality for your business, think about what your customers expect, what your brand represents, and what your images will be used for – web, print, etc. This should be your image quality guide.

Photographing Products – A 4-Step Process to Produce Good Quality Images, Fast

You can see that there are drawbacks to focusing solely on either image production or image quality.

Below is a 4-step process that empowers you to produce good quality images fast.

Here are a few key points that reinforce the philosophy behind the process:

  • For 99% of businesses, creating exceptional ‘magazine quality’ images is a waste of time and money.
  • Businesses do not have unlimited budgets for their product photography projects.
  • The ultimate goal for product images is to reinforce a product or company’s brand and to maximize sales.
  • Low quality images do not instill confidence, quality and trust in the buyer.
  • Avoid re-photography at all costs – doing it right the first time will save time and money.
  • Effective product photography is 90% process and 10% creativity.

Step 1: Project Planning

Planning is a critical step in effective product photography. Include the following items in your plan:

  • Products: which products are missing images, how many products need images, what type of products are they (large, small, multiple pieces requiring layout, assembly required etc.), and where are the products located in your business.
  • Images: what will the images be used for (ecommerce, print, resellers, marketing), which image views are required for each product category, what is the image naming convention, what image sizes and formats are required, and what is the image quality standard.
  • In-house or Outsource: it is best to evaluate in-house vs. outsourced product photography during the planning step as this will affect the project in many ways. Read this post – In-house vs. Outsourced Product Photography – 10 Questions to Ask – before you make your decision.
  • Product Photography Studio: if you have decided to set up a DIY product photography studio you will need to plan the details – where will it be set up, what equipment will you need, how much will it cost, and how much space will you require to operate the studio. Read this post to help you setup a DIY product photography studio.
  • Resources: what resources are required for the project –photographer and helper, warehouse staff, image editors, and project manager.
  • Logistics: where are the products located and how will you get them to the photography studio.
  • Budget: create a project budget.

Step 2: Photography Studio Setup

A well designed photography studio can facilitate faster image production and produce consistent image quality.

Consider the following items when setting up your photography studio:

  • Equipment: tabletop product photography requires the following equipment:
    • Photography Table – to accommodate the maximum width, length, and weight of your products. You can build your own table cheaply with PVC pipe for the frame and plexi for the top.
    • Light Tent – this helps reduce glare and reflections.
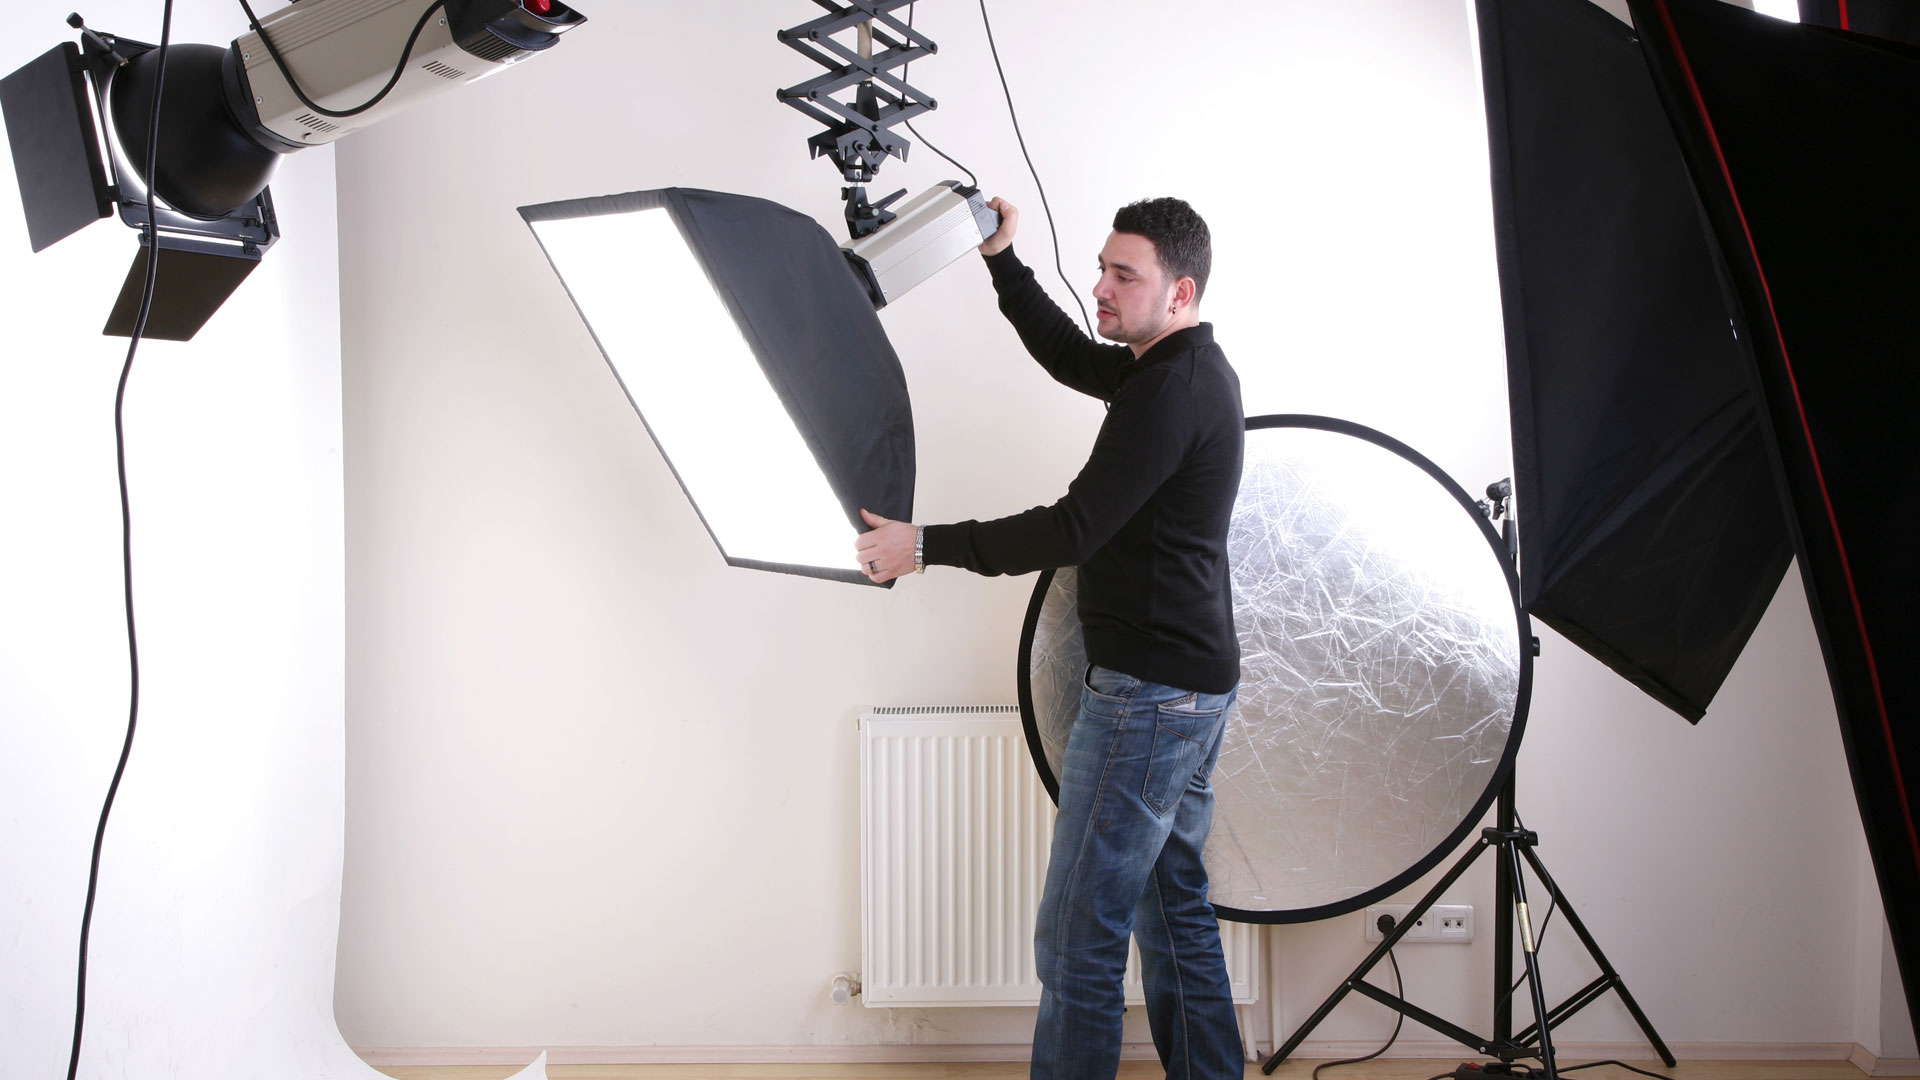
    • Strobe lights and stands – ideal setup is 3 lights overhead and 1 under the table to reduce shadows.
    • Softboxes – for each overhead light.
    • Camera stand and gear head – the stand and gear head costs more than a basic tripod set up but the productivity gains from the equipment’s precision and flexibility will more than make up for the additional cost.
    • Camera – there are many good pro or semi-pro cameras that will take great product images without breaking the bank.
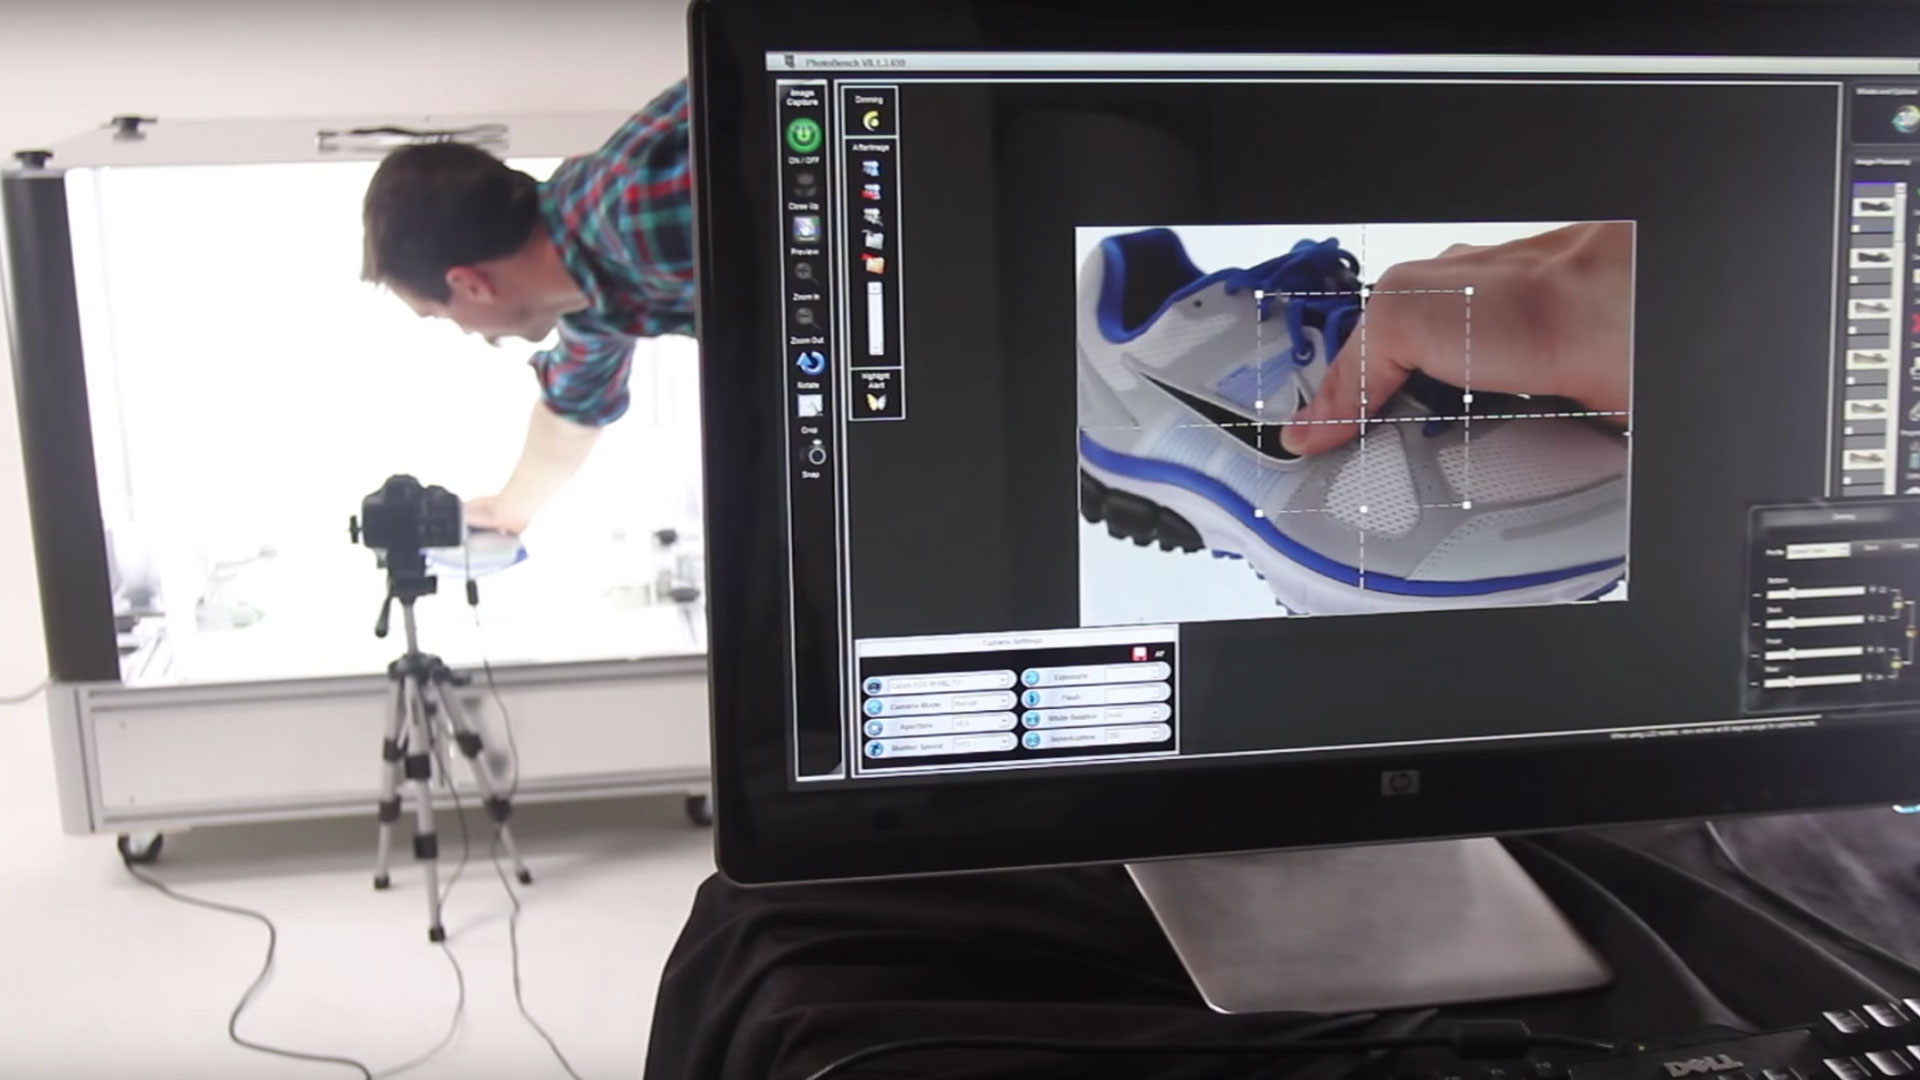
    • Laptop – a laptop is used to run software that will automate repetitive tasks and reduce human error.
    • External Monitor – a calibrated external monitor is used by the photographer to adjust the images for tone and color before submitting them to editing.
    • Barcode Scanner – to scan the product UPCs – reduces time and human error.
  • Space: The amount of space you have for your studio can have a huge impact on productivity. Space allows you to efficiently stage products before photography and minimizes how many times the helper has to move products from one area to another. It also frees up the helper’s time allowing them to focus on keeping the photographer 100% productive. This efficiency allows the studio to produce images fast with consistent quality.
  • Resources: The photographer and helper can have a major impact on both production and image quality:
    • Production – Product photographers that have taken thousands of product shots and are experienced in the tricks of the trade. For example, they know how to set up lights so that adjustments from product-to-product are minimized, they know how to work with camera stands and gear heads, they know how to get the most from their helpers, and they know how to troubleshoot equipment when issues arise. Experienced helpers can also play a key role in production – they know how to stage products efficiently, how to prepare products for the photographer, and how to keep the product flowing to and from the photographer.
    • Image Quality – Experienced product photographers know how to capture quality product images fast. They move quickly and know when good is good enough. Conversely, inexperienced product photographers take too long to adjust lights and have trouble determining when an image is acceptable and when it is not. Read this post before you hire your next product photographer.

Step 3: Workflow Implementation

Product photography workflows can increase production and help maintain good, consistent image quality.

Below are 7 workflows that you should consider implementing:

  1. Categorize products: Group product into product categories e.g. sporting goods manufacturer groups footwear products together. This enables the photographer to shoot similar products one after the other minimizing the time required to adjust lights and camera settings from product-to-product.
  2. Organize products: The helper will organize the studio into 3 distinct product zones to avoid clutter:
    • Products that have not been photographed.
    • Products that have been photographed but their images have not passed QA (you don`t want to return products to inventory until their images have been approved by QA).
    • Products that can be returned to inventory (their images have passed QA).
  3. Group products: The helper groups products for the photographer according to like criteria e.g. products that are the same size, same shape, same color, similar reflective nature, same image views. This allows the photographer to setup the lights once and not adjust them until the ‘like products’ change.
  4. Reshoot products: When images are rejected by QA they need to be reshot by the photographer. The helper goes to the studio zone where the products that have been photographed but were not ready to be returned to inventory are staged and locates the product requiring reshooting. The helper can locate the product quickly as it is not grouped with products that have not been photographed yet or the products that are ready to be returned to inventory (see the ‘organize products’ workflow).
  5. Photographer image QA: The most important image QA is at the studio by photographer BEFORE the images are submitted to editing. After the product images have been captured the photographer will run them through presets in Lightroom or Capture One to adjust for things like tone, color and sharpness. The images will be reviewed on an external calibrated monitor. After the photographer’s review the images will be submitted for editing. This workflow drastically reduces reshoots and ensures that image quality standards are always met.
  6. Image renaming: Renaming images takes up a huge amount of the photographer’s time. Unless you use Photography Workflow Management software there is no real solution to this problem other than manually renaming the images and storing them in a series of desktop folders.
  7. Studio calibration: Calibrating the white balance on the camera and the color balance on the external monitor daily helps ensure that the images submitted by the photographer will meet image quality standards. This reduces costly rework.

Step 4: Production Software Deployment

Product photography involves repetitive tasks for every product and image:

  • Entering product or UPC numbers into a spreadsheet or database.
  • Copying images from the camera after photography.
  • Naming image views according to their orientation (top, bottom, left, right etc.).
  • Marking products as photographed and images as taken.
  • Renaming images by the product number and view.
  • Saving images to a server for editors to access.

Typically, these tasks are completed manually by the photographer and can consume up to 50% of their time. Clearly this has a big impact on daily production.

Product Photography Workflow software helps the photographer gain back lost productivity.

With software, the new workflow looks like this:

  1. Load product and UPC numbers, product categories and image views for each product category into the software at the start of the project.
  2. Scan UPCs into the software (or enter product numbers if UPCs are unavailable) – images required for that product will be displayed in the software.
  3. Capture images, run them through applications like Lightroom or Capture One for batch editing.
  4. Images are submitted to the software and associated to the image views.
  5. Confirm that the images match up with the required image views.
  6. Upload the images to a web-based server for the image editors.
  7. All images captured for each category and each product number are recorded in the software. You can generate reports on which products have been photographed and which have not.

The software eliminates the majority of the manual tasks and allows the photographer to focus his or her time on photography not time-consuming menial tasks.

Conclusion

From this post you can see that photographing products with production or image quality as the sole focus is not the best approach. By following a disciplined 4-step process you can balance production and image quality for optimal results.

If you would like to see how photography workflow software can help you with this balancing act please contact Visual SKUs, we would love to show you the software and discuss how you can increase your image production, decrease your cost per image, and produce good quality images.

Thanks for reading.

Patrick Weilmerier
Patrick Weilmeier
Patrick leads Visual SKUs marketing activities and is focused on understanding customer needs, aligning with sales to generate opportunities, expanding markets, and growing revenue.

Get High-quality Images of Your Products - Learn About Our Pricing

Get Pricing Now
  • Blog Subscription - Blog

    Your Privacy is Important to Us